709-218-7927 The Landfall Garden House 60 Canon Bayley Road CANADA A0C 1B0 |
|
|---|
.JPG)
Using a Photograph as a Postcard
We want to type/print a greeting message in the space on the right-hand side of the photo, and we want to type/print an address on the reverse side.
Our photograph is in glossy photographic paper, so the greeting message will be printed on the photgraph printer (a HP310) and the address will be printed on the regular laser printer (HP2600N).
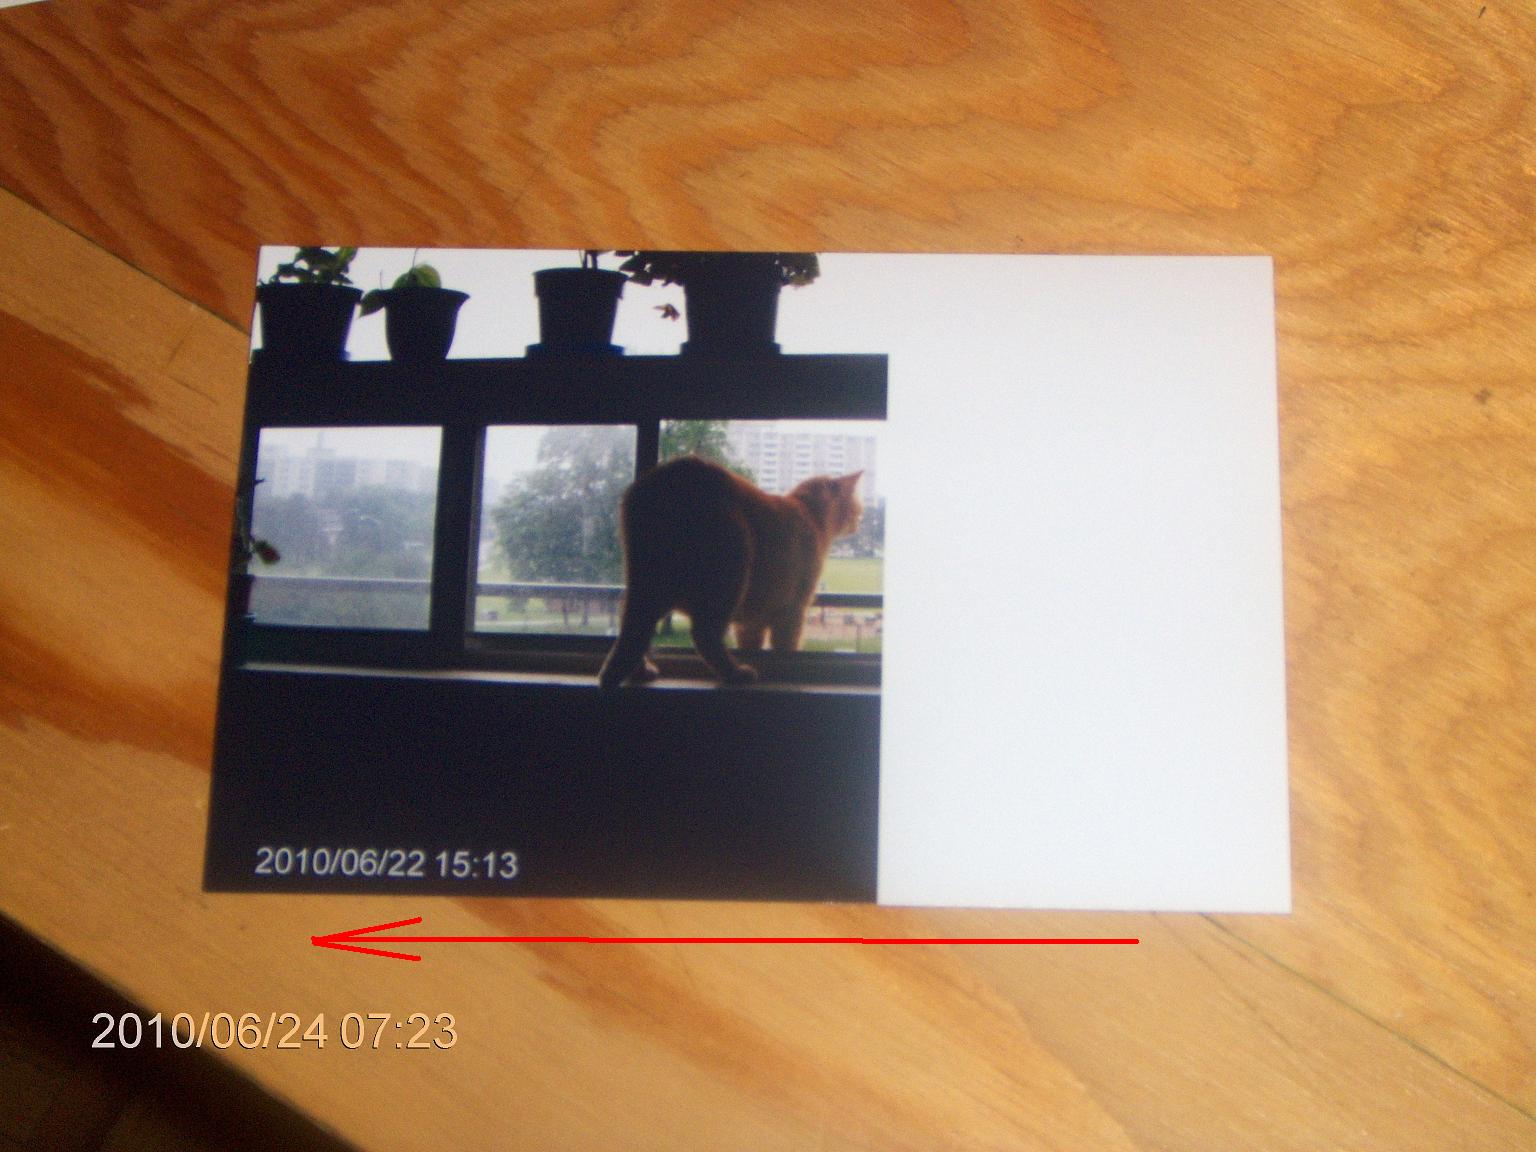
The photo was printed in the direction shown by the red arrow. The date stamp end of the photo was fed in to the printer.
Our greeting text will therefore have to be rotated.
We set up a document sized to the photoĺs dimensions.
In this example 10.0 cm wide and 15.2 cm deep.
We create a 2-cell table; the first (ôupperö) cell will hold our greteing text; the second (ôlowerö) cell holds the image and will be fed into the printer.
Note that the image is already present on the paper; we do not need to insert an image into our second table cell.
We measure the depth of the white space on the photo as 5.2 cm, and allowing for the icm margin, that leaves us a mere 4.2 cm for the first table cell.
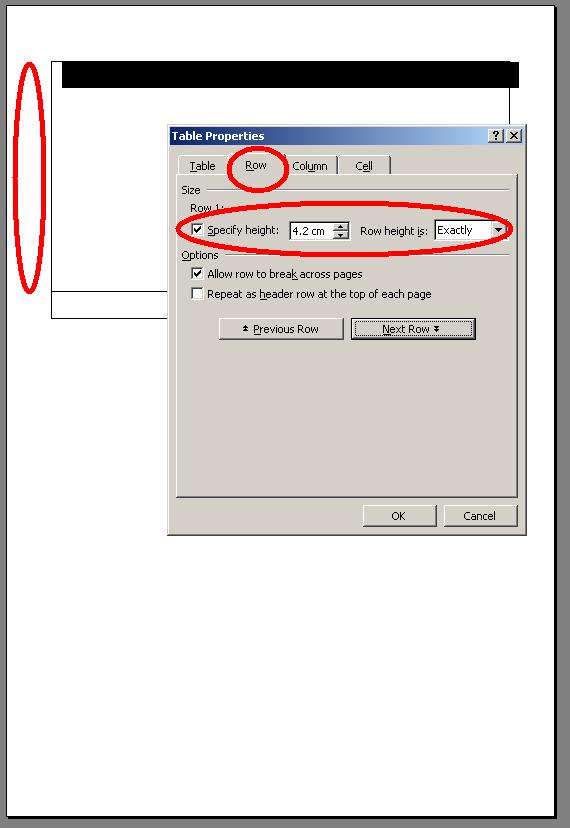
We set the table properties accordingly:
Now we can type our greeting text: ôWaiting for Michelleö.
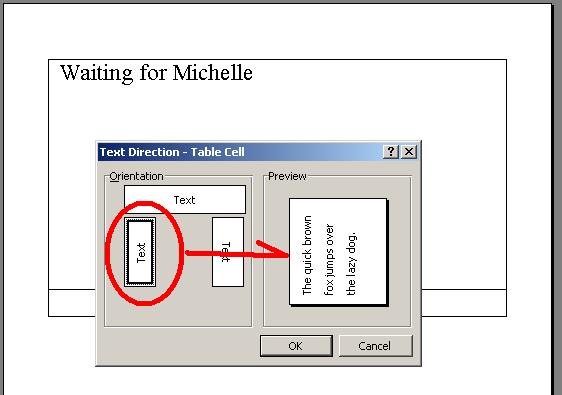
Choose Format, text direction and rotate the text:
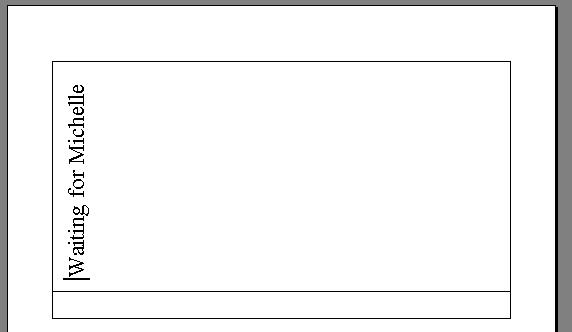
Here is the result.
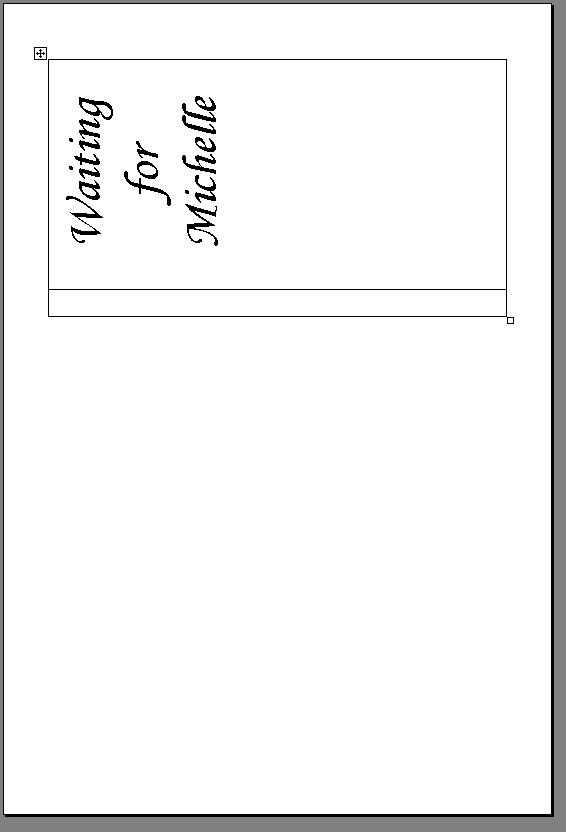
Choose Format, Borders and remove the table borders; we want our test to Ĺfloatĺ on the page.
Once the text is formatted, the glossy side is ready to be printed.
709-218-7927 CPRGreaves@gmail.com Bonavista, Thursday, December 17, 2020 7:30 AM Copyright ę 1996-2020 Chris Greaves. All Rights Reserved. |
|---|